

How Pipe Lining Works
In the third installation of our trenchless sewer repair video series, our team is working to repair a broken sewer line using a method known as cured in place pipe (CIPP).
CIPP is great technique for repairing cracks or worn spots in a sewer line because it doesn’t require that the old line be dug out for replacement. It also creates a solid piece of pipe that conforms to the path of the original line without needing any welded joints.
The Need For Speed
After clearing the old pipe of any obstructions, the team will mix together a two-part epoxy resin that consists of a base and a hardener. When combined, the epoxy will cure into a hard and durable plastic that will last for decades. After the epoxy is mixed, it is poured into a fabric liner cut to fit the length of the repair. Installation crews have to work fast after the epoxy is mixed because they only have approximately 60 minutes before everything starts to harden in place.
The Curing Process
Once coated, the pipe liner is placed in a pressure tube, which is then connected to one end of the original sewer line. The crew then uses either air or water pressure to invert the liner. This means the liner is turned inside out while being forced through the old pipe, causing the epoxy side of the liner to stick to the walls of the original pipe. Hot water (reaching temperatures of 212 degrees Fahrenheit) is then circulated through the pipe to activate the resin and evenly cure the epoxy. The installation crew must carefully monitor temperatures during this process. If the epoxy is overheated, it won’t cure properly. If it’s cooled too quickly, the liner can shrink.
Once everything is successfully cured, owners can relax knowing that their sewer line is made from a single piece of durable pipe with no joints or cracks to be exploited by plant roots or rats!
Your Local Sewer Experts
Contact the experts at Best Plumbing to learn more about our sewer line services. We have teams specializing in both residential and commercial projects and we’re here to help, no matter your plumbing needs.
Visit our blog and YouTube channel for more great plumbing insights!
Plumbing Tips | Best Plumbing: Commercial & Residential Plumbers - Seattle & All of King County Comments: No Comments
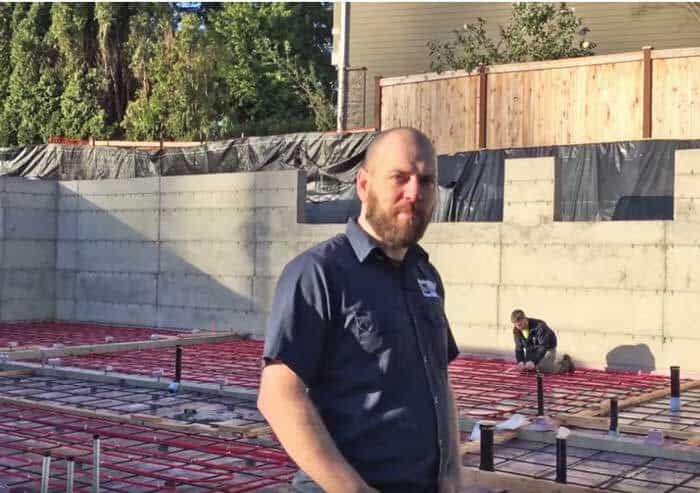
Electric vs. Hydronic Radiant Floor Heating
Radiant floor heating has steadily gained popularity as an efficient and comfortable way to heat your home. While forced air systems push heated air to the top of the room, radiant floor heating warms the area closer to the floor, making the space more comfortable for the human body (and especially bare feet!). But there are multiple ways to achieve radiant floor heating: both electric and hyrdonic (water-based) heating systems can be installed under floors.
Which one should you choose? Here’s a side-by-side comparison from our experts to help you decide.
Electric Radiant Floor Heating
Electric radiant heat works by running electric cables or mats of conductive plastic under the floor. This system is ideal for homes that already use forced air heating.
Electric radiant heating is quick and easy to install, so homeowners can save money on labor costs. It’s also easy to customize your system so that specific rooms can be heated on demand, and the system can be set on a timer to heat at certain times of day. The drawbacks of electric heating include the high cost of electricity, which can drive up your energy bill. It’s also worth noting that electric radiant heat is designed for making cold floors more comfortable, but may not be sufficient as a primary heat source.
Hydronic Radiant Floor Heating
Hydronic heating relies on hot water. In this system, heated water is pumped from a boiler through a network of tubes beneath the floor, so it’s ideal for homes that already use a water heater.
Hydronic radiant heat is considerably more energy efficient than electric. Once the floor is heated, the structure of the house helps maintain and hold in the heat for long periods of time. This can help save energy costs in the long term. However, hydronic heat is more complex and costly to install, and it cannot be precisely timed like electric heat.
Want an expert opinion on radiant heating for your home? The Best Plumbing team has years of experience installing radiant floor heating throughout the Seattle and King County area. Give us a call, or come visit our Seattle showroom!
Best Plumbing: Commercial & Residential Plumbers - Seattle & All of King County Comments: No Comments
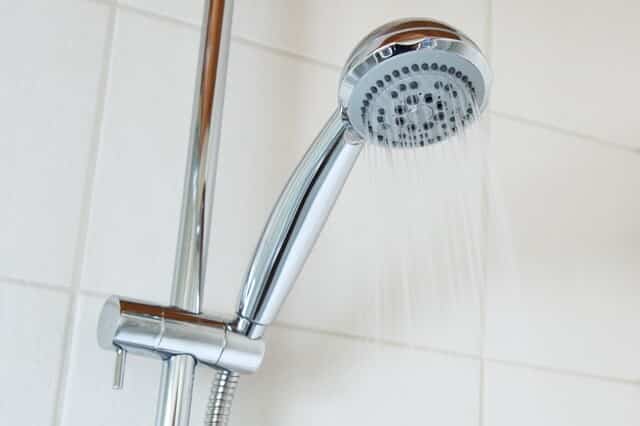
Shower Diverters: What They Are and What They Do
If you have a shower-tub combination in your bathroom, the shower diverter valve is what allows you to divert the water back and forth between the tub faucet and the showerhead. Though they are typically very simple devices, shower diverters may malfunction and need replacing once in a while. Fortunately, our team at Best Plumbing is available to explain everything a Seattle homeowner needs to know about diverters, whether it involves picking the right new valve or fixing the one you already have.
How Do Shower Diverters Work?
The water pipe that connects to your tub faucet also extends vertically to your showerhead. When the diverter valve is open, water flows directly through the faucet and into the tub. However, when you want to take a shower, you lift the knob or lever to close the diverter valve. This creates pressure, forcing the water flow upward and out of the showerhead.
Types of Shower Diverter Valves
- Three-Valve Diverter: This type of diverter usually consists of a tap or lever located between the hot and cold taps of a two-tap faucet. To activate the diverter, you turn it 180 degrees, and then simply turn it back when you’re done.
- Two-Valve Diverter: A two-valve diverter can either be located in the center of a single faucet that controls temperature, or it can be set between the taps of a two-tap faucet.
- Tee Diverter: This single valve diverter is located in the tub faucet. To activate the diverter, you pull up on the lever in the faucet.
Common Problems with Diverter Valves
If water comes out of both your tub faucet and showerhead when you activate the diverter, then there is something impeding its function. Over time, diverter valves can become worn out or clogged by sediment. If this happens, the valve will not close completely, and so some water will continue to flow out of the tub faucet even when the diverter is activated.
Bathrooms | Best Plumbing: Commercial & Residential Plumbers - Leaks, Clogs, Repairs & Installations - Seattle & All of King County Comments: No Comments